Find the source of moisture before buying a treatment. Rain entering through a defect, wet goods and condensation on cold metal need different responses.
Distinguishing leaks, condensation, and moisture brought in
Leaks let outside water through a defect; condensation forms when water vapour meets a surface cold enough for droplets to form. Wet goods, pallets or packaging can also introduce water. Several causes can coexist, so use the clues below to investigate rather than assuming one cause.
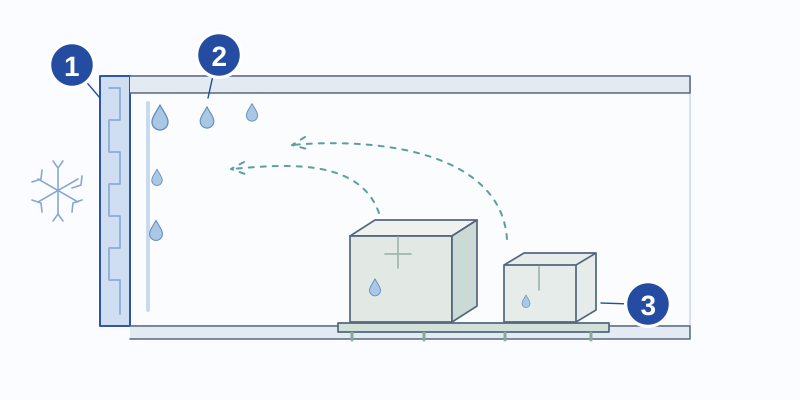
Visual reference
- Cold surface
- Possible condensation
- Moisture introduced
Illustrative diagram, not to scale.
| Observation | What to check | Mistake to avoid |
|---|---|---|
| Stain near a seal after rain | Condition of the seal, how it closes, and possible path of the water | Concluding it's condensation without checking for a leak |
| Drops spread over a cold wall | Temperature, humidity, and what happened before | Assuming a watertight container always stays dry inside |
| Moisture appearing after loading | Condition of goods, pallets and packaging brought in | Treating only the air without examining what brings in water |
| Traces behind objects or in a corner | Access for inspection, condition of the area and air circulation | Masking the trace with a covering before understanding its cause |
Record signs of moisture, the weather and the storage conditions
Mark inspection points near the doors, middle, back and sensitive goods. Take comparable photos and note rain, loading, door use and the appearance of marks.
If using sensors, record temperature and relative humidity together and follow their placement instructions. Relative humidity percentages alone are not directly comparable at different temperatures; get help interpreting uncertain readings.
- Date and time of the reading.
- Rain, temperature change or other weather event observed.
- Temperature and humidity, with sensor locations.
- Door openings and cleaning operations.
- Goods or packaging added and possible wet condition.
- Places where traces appear, shown on the photos and plan.
- Action taken and date, so you can track its effect.
Avoid letting water in before adding devices
Dry damp equipment, pallets and packaging in a suitable place before storing them. Protect sensitive goods and arrange the load so walls, seals and marked areas remain accessible for inspection. Check the goods’ required storage conditions.
Check if outside air can help with drying
Ventilation can remove water vapour or bring moisture in, depending on outside conditions. Check existing vents for blockage before adding equipment. Have any new openings or ventilation designed for the contents, airflow, fixing and rain protection; another container’s vent count is not a sizing rule.
Compare solutions with their constraints
Choose the task first: repair water entry, remove moisture from air, manage cold surfaces or protect particular goods. The table sets out the different roles.
Size equipment for moisture inputs, storage duration, door use and surrounding conditions, rather than volume alone. Check power, drainage, maintenance and operating limits. Have linings or insulation assessed for moisture that could remain hidden.
| Action | What the action can do | To plan before choosing |
|---|---|---|
| Ventilation | Renew air under suitable conditions | Outside conditions, circulation, rain, and safety |
| Desiccant or absorber | Retain a limited amount of moisture | Sizing, replacement, fixing and management of absorbed moisture |
| Electric dehumidification | Remove water from the air within a given operating range | Power supply, drainage, operating range and maintenance |
| Insulation or dedicated protection of goods | Manage heat transfer or protect the stored goods | Wall design, interfaces and monitoring of hidden areas |
| Repair a leak | Correct an identified water entry | Location of the defect and verification after intervention |
Check the effect of each change
Record the starting condition and each change, using the same inspection points. If the goods remain protected, changing one thing at a time makes the result easier to interpret.
Check again under the conditions that triggered the problem, such as rain, loading or temperature changes. Have persistent moisture, mould, unusual odours or damaged goods assessed instead of concealing them with a lining.
Information to send to the supplier
Send the observation record, goods and packaging details, storage period, door use and available power. Include existing equipment or work. Ask for the proposed solution’s capacity, limits, maintenance and follow-up checks in the offer.
Checklist to keep near the container
- Leaks and condensation investigated separately.
- Loading, weather and door use recorded with marked photos.
- Temperature and relative humidity recorded together if measured.
- Goods protected and inspection points kept accessible.
- Solution sized with operating limits and maintenance defined.
- Results checked under the original trigger conditions.
Find the right type of container
Containers to compare
Models available from our partner sellers. Indicative prices exclude VAT, transport, and unloading. The images show the models: ask for recent photos of the container you are buying.
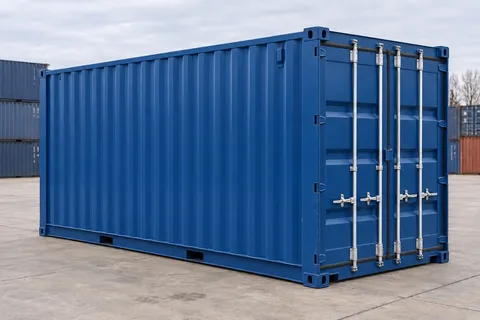
CA-20-STANDARD-NEW-BLUE
20ft Standard container · New · one trip · Blue
New · one trip / Blue
£1,390Indicative, excl. VAT
Request a quote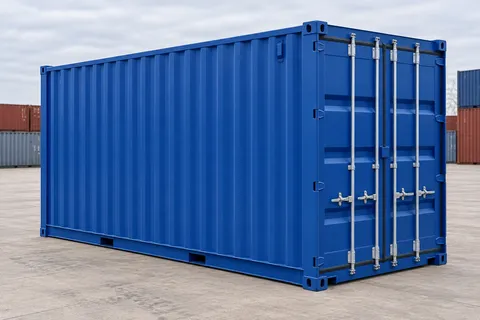
CA-20-HIGH-CUBE-NEW-BLUE
20ft High Cube container · New · one trip · Blue
New · one trip / Blue
£1,810Indicative, excl. VAT
Request a quote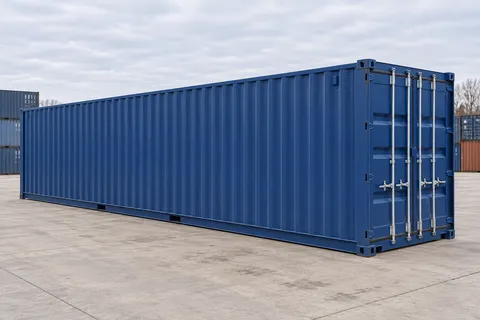
CA-40-STANDARD-NEW-BLUE
40ft Standard container · New · one trip · Blue
New · one trip / Blue
£2,610Indicative, excl. VAT
Request a quoteTechnical references
- Virginia Tech — How to Prevent Moisture in Sea Containers
Moisture from packaging and pallets, condensation, ventilation, and moisture absorbers. This document does not give a dose that works for every container.